After reading some good reviews about the TS100 soldering iron, I decided to buy one by myself. Here's my first impression.
The TS100 is produced by the Chinese company Miniware. Have a look at the product page for overview. From my point of view the interesting features are these:
-
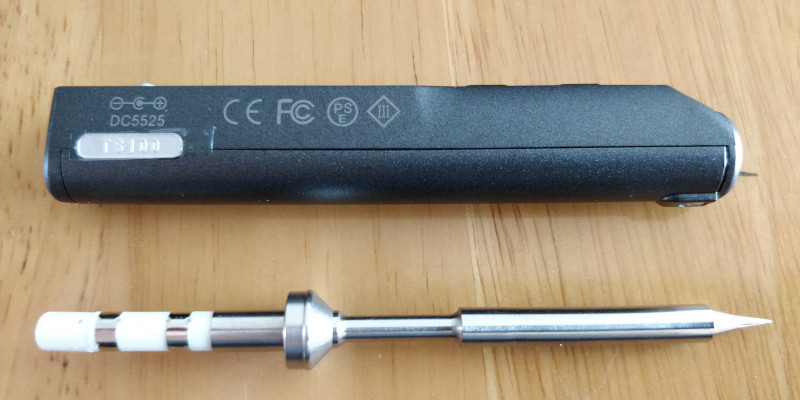
Tips: The electronics and tips are separate. The tips contain the heating element, which makes them heat up very fast. Also good for quick regulation when much heat is drained from the tip. This is helpfil e.g. when starting to solder on a copper ground plane or a thick cable.
-
Electronics: Integrated electronics based on an STM32 microcontroller. Schematics and bootloader interface are published, so it's possible to create alternative firmware.
-
Display: Small OLED display to show current tip temperature and status.
-
Weight: Very light-weight and easy to handle.
-
Powering: Can be powered by a standard power-supply, starting from 12V up to 24V, but also e.g. with a LiIon battery pack. This is nice, if you're out and having to repair something where no power socket is available.
Official firmware and related files (manual, schematics (!), etc.) can be downloaded from the Miniware discussion board. The first post in the linked thread seems to be updated with links to the most recent version of firmware and documents.
Unboxing
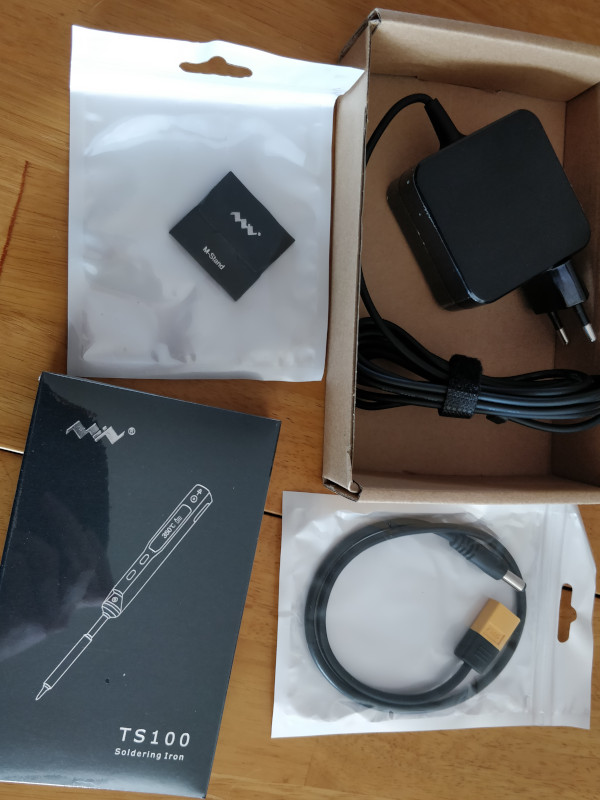
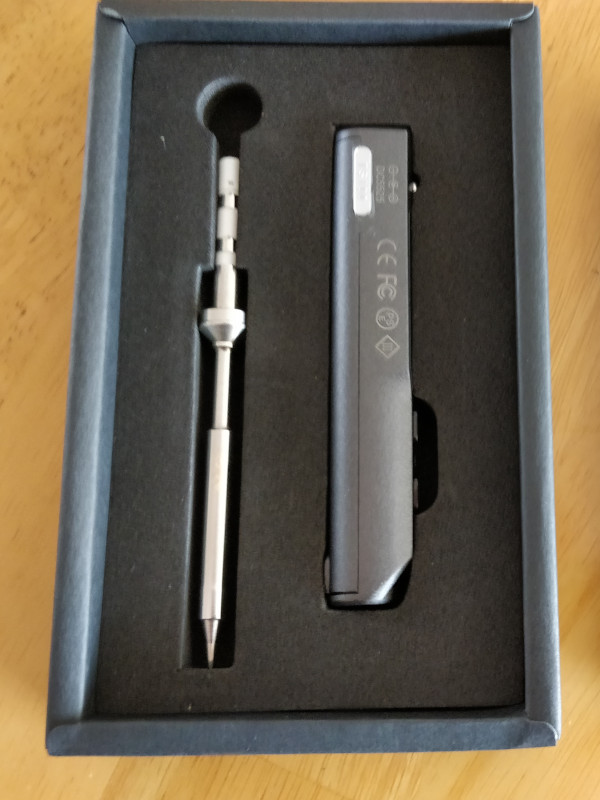
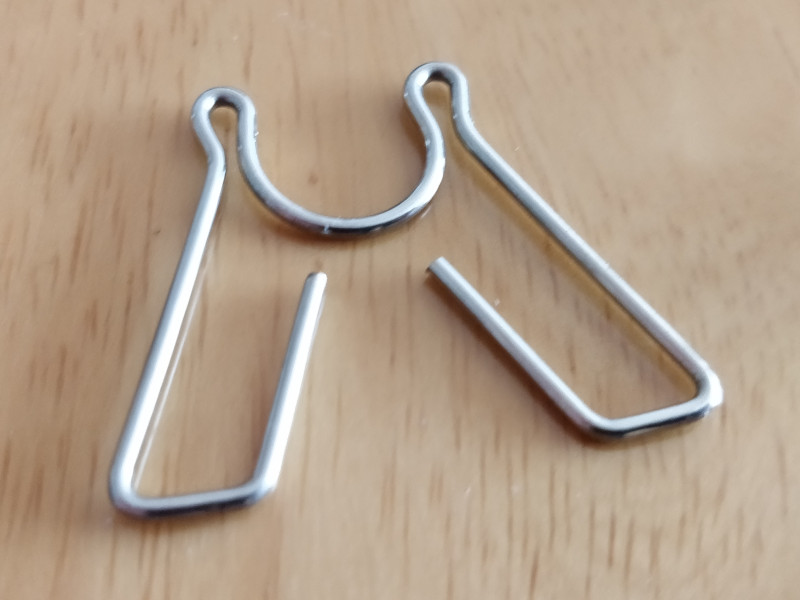
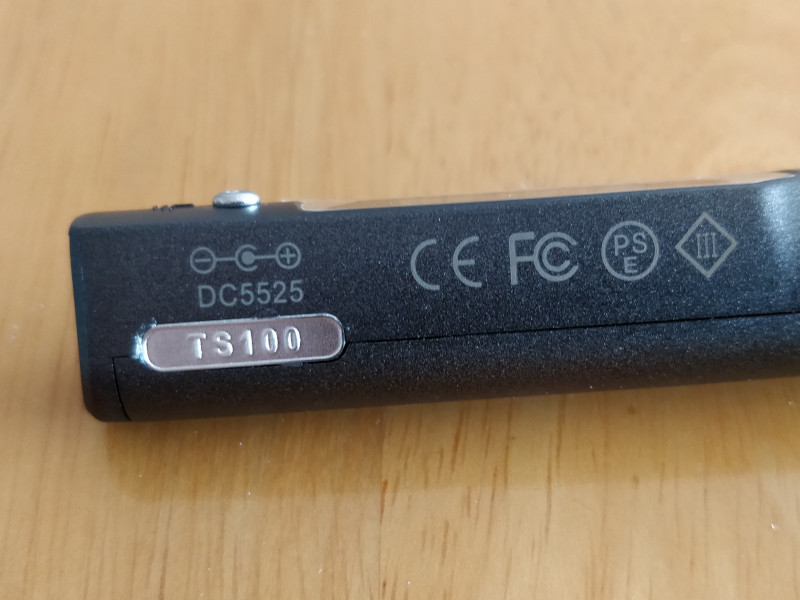
Here are a few pictures from unboxing. I ordered these items from Taobao for RMB 407,- in total (ca. EUR 53,50):
- TS100 soldering iron with pointy type I tip (there are other tips available, too)
- Wire stand / rest
- Power supply 19V, 2.25A
- XT60 cable for powering with LiIon battery pack
First Impression
The soldering iron is really small and light. It feels much like a normal pen. I ordered the "I" type pointy tip and can imaging that it's really useful to solder small SMD components.
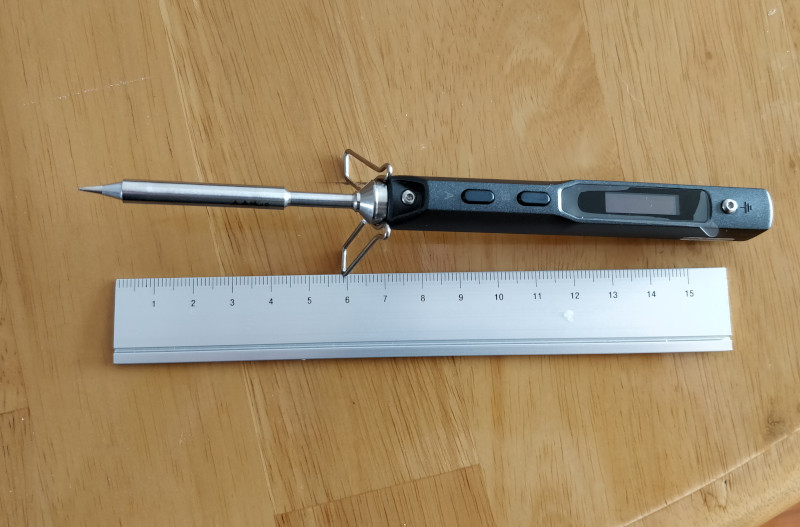
The power supply, some no-name supply with 19V, 2.25A, has a nice flexible cable, which additionally helps to do precision work.
Overall build quality seems really good.
Original Firmware
When powering the soldering iron, it shows the installed firmware version. Mine had version 2.18. The official firmware works without flaw. Usage is a bit difficult, because there are only two buttons to control everything.
I did not try it in too much detail, because I have already plans to flash an alternative open source firmware.
When connecting the soldering iron by USB, it emulates a USB drive with a
config.txt file. In this file you can configure some parameters like
undervoltage shutdown (useful for operation with batteries), etc.
Open Source Firmware
On Github you can find the Ralim TS100 firmware. Flashing is done in a few steps, as described here for Linux:
-
Download the recent firmware release. There are many translations available, I took the English version
TS100_EN.hex -
Download the bash flash helper script
-
Press the
Abutton (close to the tip) and while holding it, connect the USB cable. The soldering iron stays now in bootloader mode for flashing and displaysDFU .... -
Run the flash helper script with the firmware as parameter.
When connecting the soldering iron while pressing the A button, it will enter
bootloader mode. In this mode, a USB mass storage device is emulated (like a USB
stick). Copying the firmware to the device starts the flash process. When
finished, the file extension appears to be renamed from .HEX to either .ERR
(flashing failed) or .RDY (flashing successful).
It seems this procedure is not 100% stable. I needed two tries to get the firmware flashed. This is also mentioned in the [documentation][Flashing with Linux].
Usage
I do not yet have a detailed understanding of all the features of the firmware. So here just some overview.
The Ralim firmware does not support emulating a USB drive for configuration. Instead all settings can be made through the menu system of the soldering iron itself.
After playing with the configuration settings, I now have the display showing the current tip temperature, the supply voltage and the power used for heating.
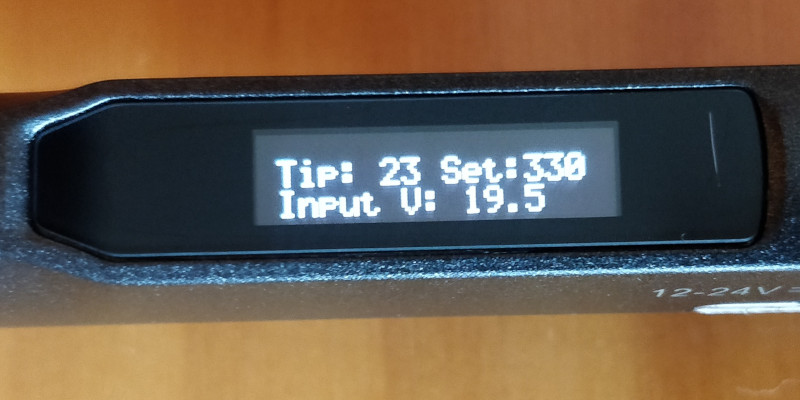
Pressing one of the buttons powers on the soldering iron. Then you can set the tip temperature. Heating up is really fast. After power-on the tip heats up in a ca. 15 seconds from room temperature to 330 degree celsius when using the 19V power supply. Lower supply voltage makes it slower.
After some time the soldering iron goes into standby mode and reduces the tip temperature. It returns to normal operation as soon as you move it. It seems to have integrated a motion sensor. This is also used to always orient the display contents in the right way.
Conclusion
So far I'm really happy with the TS100 and would recommend to buy it. I would even say it can replace even a much more expensive professional soldering station in some cases.